


Here's what you'll need:

I started with the letter D. Fill a small bowl or dish with glitter of your choice. Spread some tacky glue on the letter or shape with a sponge brush. Make sure you get all the edges. Dip the shape in glitter and make sure to press down really well. This will help adhere the glitter to the glue better. Voila! Let dry.

Go ahead and get your paints out and paint as many shapes as you like. I went with a pretty mint color (in satin finish) and gold ( in a metallic finish). I used separate sponge brushes for each of these colors.

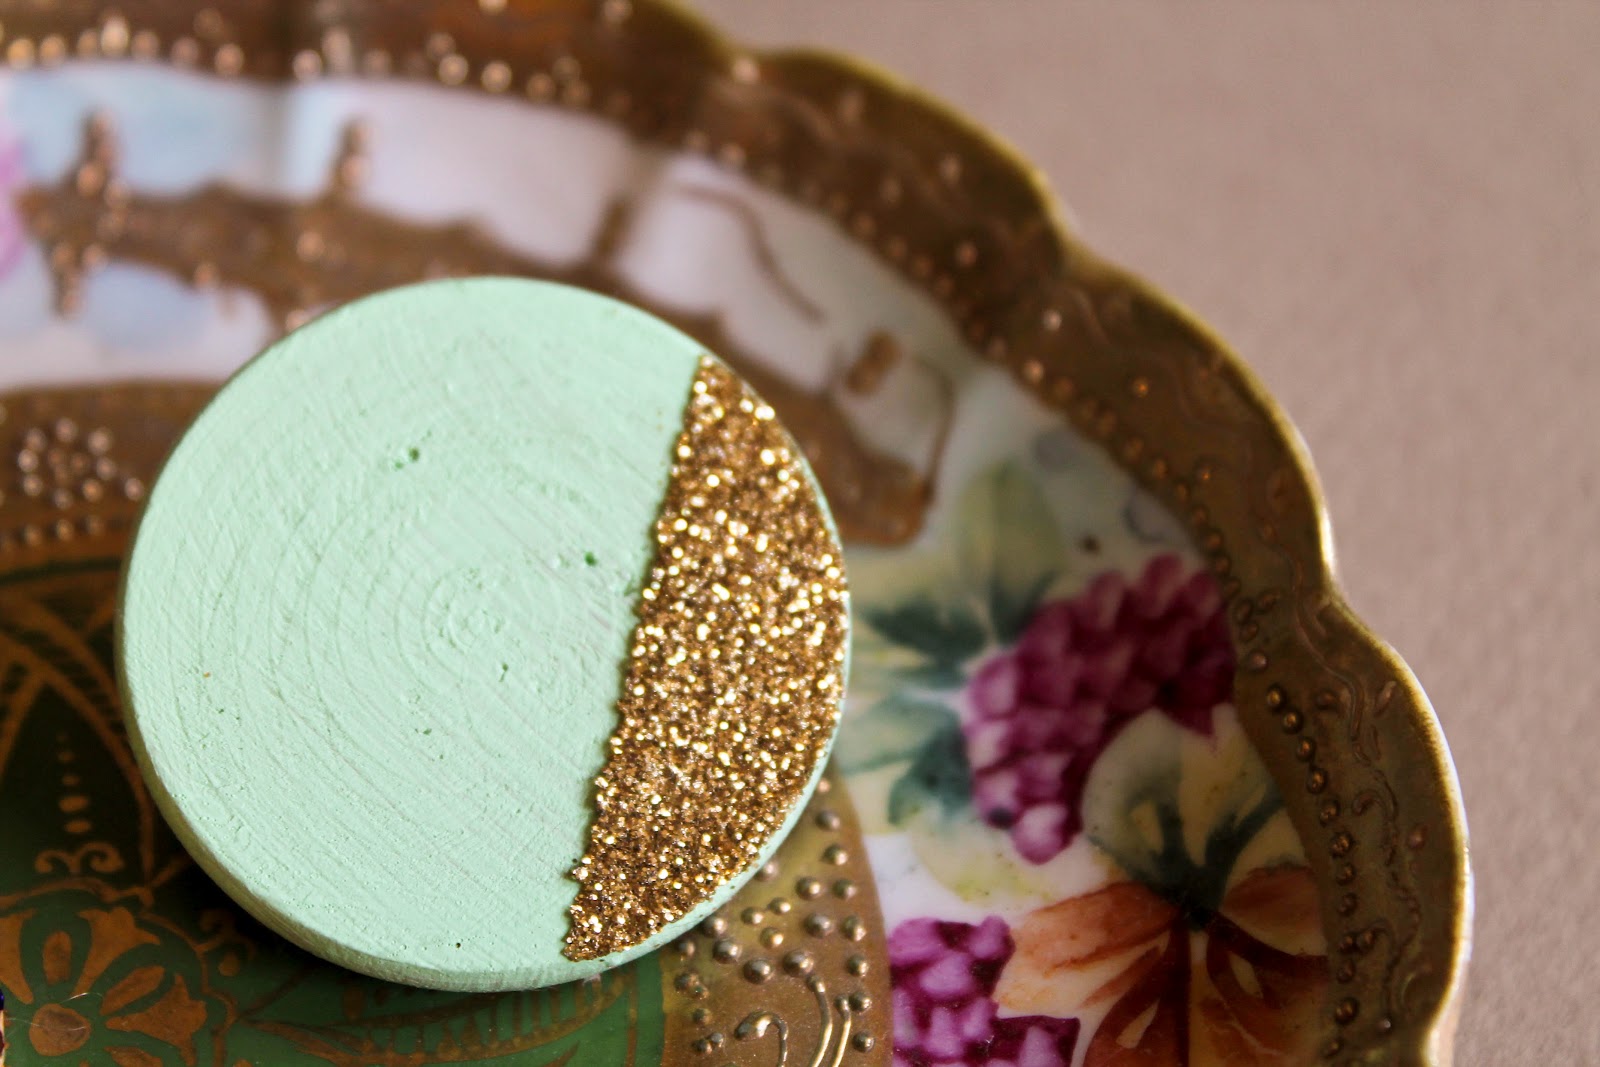
You can then do just about anything with the surface, once it's dry. I started adding painters tape and then putting glue on just one side, dipping it in glitter, and getting a unique half and half design. I also put 2 strips about a 1/2 inch from touching each other, to create a cool glitter line down the center. And some, well, I just dipped them completely in glitter. :)

Just hot glue a pin on the back and you have a brand new brooch, with lots of sparkle!

I just love the way these turned out!


No comments:
Post a Comment